QuickBooks is widely used to manage small and medium-sized businesses. Its features make it the favorite accounting program among users. One such feature is QuickBooks Online Timesheet. The Timesheet is tabulated data in which an employer can easily track their employee’s work hours. Many businesses use timesheets to record the time spent on clients, tasks, or projects. Follow this write-up till the end to learn about the benefits and working of the Timesheet on QuickBooks desktop. Here we go.
What is QuickBooks Online Timesheet?
A Timesheet is a type of time recording document. It will specifically record the definite amount of time an employee spent at work on the clock. It can be entered manually or done automatically. Also records the employee’s assigned time to be attentive to any tasks, projects, or clients. The QuickBooks Timesheet is a reliable source of calculating an employee’s pay for the period by tracking the employee’s hours from beginning to finish and also the break time.
How to Use Timesheet in QuickBooks Online?
Firstly, to use the QuickBooks Timesheet, you have to set it up. Follow the given steps to set up QuickBooks Online Plus and Essentials time tracking.
Step 1: Turn ON Time Tracking
Following are the steps to turn on time tracking in Tsheets QuickBooks.
- Firstly, go to the Settings ⚙ and Choose the Account and Settings option.
- Secondly, choose the Time tab.
- Then, in the General or Timesheet section, choose Edit ✏.
- Now, set your time tracking preferences.
-
- The First Day of the workweek ▼ dropdown – It involves how the contractors and employees view weekly timesheets.
- Shoe service filed – When this switch is on, the contractors and employees who fill out the timesheets can define services performed.
- Allow time to be billable – When it’s on, the contractors and the employees who fill out the timesheets can define if workouts should be billed to a customer.
- Show billing rate to the users entering time (optional).
- After that, select Save and then Done.
Step 2: Add a Time Tracking User
To add time tracking user in QuickBooks Online Timesheet, follow the given steps:
- Firstly, go to Settings ⚙ and choose the Manage Users option.
- Then, select Add User.
- After that, select Time Tracking only.
- Now, select Next.
- Here, find the supplier or employee you want to add. Select Next and enter their contact info.
- In the end, select Save.
After adding, you can now enter the working hours in a QuickBooks timesheet.
Note: You can’t modify the user kind of a Time Tracking Only user. If Time Trackers requires different company access, then delete the user and add them back with the new user type.
Step 3: Make Time Billable
Once the time tracking is complete, you can begin marking the timesheets as billable in QuickBooks Online Timesheet. Follow the steps:
- Firstly, Select + New.
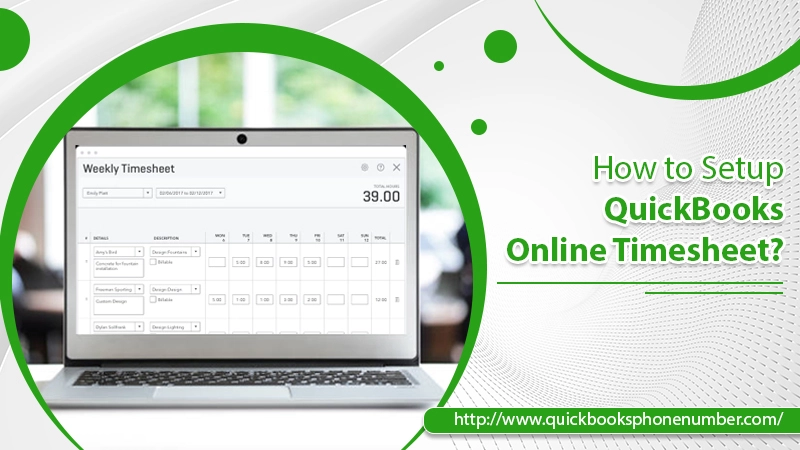
- Then, choose Single time activity or Weekly Timesheet.
- After that, enter all the necessary details of the employee or contractor.
- Now, Select the Billable checkbox.
- At last, select Save and close.
You can also make Time always billable in QuickBooks Online Timesheet.
Make Time Always Billable
- First of all, go to Employees.
- Now, find the employee you want, and choose Edit ✏.
- After that, choose the Billable by default checkbox.
- Finally, select Save.
Step 4: Access Time Tracking Reports
You can also access the time tracking reports in QuickBooks Online Timesheet by the given steps:
- Go to the Business and choose Reports.
- Then, from the Find by Report field box, enter any of the following: Time Activities by Employee Detail, Time Activities by Customer Detail, Recent/Edited Time Activities, and Unbilled time.
Time Details
Based on the rates you select and whether the time is billable, the time detail will automatically appear on the customer invoices. You can include.
- Employee’s name
- Hourly rate charged
- Number of hours billed
QuickBooks Online Timesheet also offers you to customize the invoice to indicate the following:
- Text from the Description field.
- The name of the common service you are using.
- Custom text that you select for time tracking charges.
Important: You can also track time on your mobile phone or application. If you log into QuickBooks Online via a browser.
You Might Also Like- QuickBooks Self Employed – Utility, Pros and Cons
What Errors can Occur in Tsheets QuickBooks Timesheet?
As Timesheet is a program in which the error can occur. So, we will describe some errors that occur in QuickBooks Online Timesheet. Following are:
- Timesheet Export Error – When you change the service item list in QuickBooks and eliminate some no-longer-used services. Thus this error occurs.
- QuickBooks Time Sync Failure – The employee is set to have activities transferred to paychecks. If the activities for the employee don’t have a payroll, then it occurs.
- QuickBooks Time Integration Error
- Tsheets Sync Error
- Payroll Advanced Importing Timesheet Error
What to do When QuickBooks Timesheet Not Working?
It’s a common issue among users. Generally, it causes due to the browser’s issues like a bad cache. The Web browser stores cache to save time while loading the redundant data and images. Over time, these files become corrupted and outdated, Thus causing QuickBooks Online Timesheet not working issue. To resolve this issue, you have to clear all the cache files by the given steps:
These steps are for Google Chrome Browser
- Firstly, open Chrome on your computer.
- Then, from the top right, click on More.
- After that, click on the More Tools option to clear the browsing data.
- Now, check the boxes of “Cached Images and Files” and “Cookies and other site data”.
- Click on Clear Data.
- In the end, Restart your browser and check for the QuickBooks Timesheet not working issue.
Contact Quickbooks Technical Support
QuickBooks Online Timesheet is a great feature to record employee timings. Follow this guide to know how the Timesheet works and how to set it. It may be difficult for a new user to track the employee time. If you face any difficulty in the above steps, please do comment. We will get back to you.
If you want to know more and having any difficulty with the Timesheet of QuickBooks Online, then dial QuickBooks Technical Support number +1-520-463-7633. Our certified professionals will assist with your concern.