 When you perform the task of internet bill and pay phone which is perhaps the equal amount every month which is a constant thing and are a great candidate for memorization. You can make your entry with one click and is a very appropriate thing as the QuickBooks memorized transaction list is suitable to access. So, here are the steps to create and modify QuickBooks Memorized Transaction. For technical help, dial QuickBooks Support Phone Number. Experts will connect with you and ask about your problem. Explain them your issue and they will suggest you the best trick to get out of that problem.
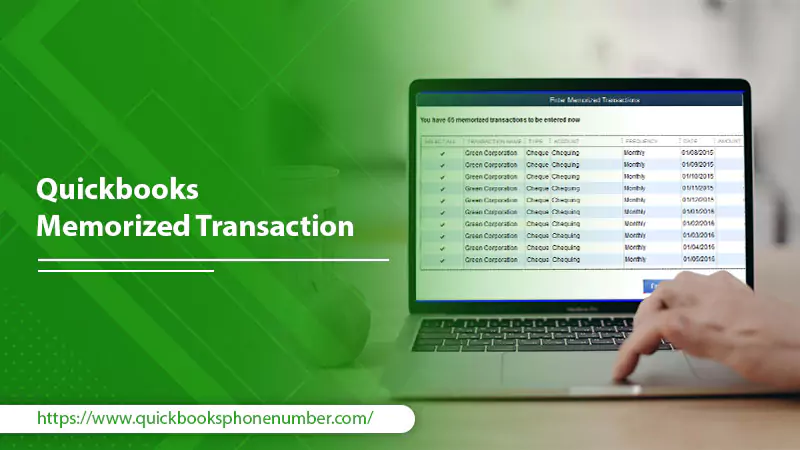
Why To Use QuickBooks Memorized Transaction
QuickBooks Memorized Transaction has the following key features.
- It will Save your time.
- Increase Bookkeeping accuracy.
- Decreases Mistakes.
- Keep improved tabs on cash in the bank.
Ways To Create A QuickBooks Memorized Transaction
The simple steps to create a QuickBooks Memorized Transaction are given below. Perform these steps wisely. Otherwise if you wish to do the same in a quick manner than QuickBooks Help is always on your desk that you can take anytime by dialling help line number.
- At first, you need to enter the transaction the way you want it to be memorized.
- You may leave those fields blank that hold the information that can change.
- Now, click on the Edit menu and choose the “Memorize” option.
- To memorize, Tap the Ctrl+Mon your keyboard or click on the memorize icon.
- Write the name of the memorized transaction that you need to manage the transaction by QuickBooks.
Add To The My Reminder List
- Add the memorized transaction to your reminder list.
- Provide how often you wish the reminder to occur.
- Write the transaction next date after the transaction is due.
Don’t Remind Me Option
- Choose the “Do not Remind Me” option if you don’t access this transaction to be memorized.
Automatic Transaction Entry
Using this option, the transaction will be entered automatically when it is due. QuickBooks will automatically enter all the details.
- Provide how often you wish QB to enter the transaction.
- Date the transaction is due.
It is compulsory to fill the How Often and the Next Date Fields.
Reminders
- Ensure that your Next Date is fixed to a day in the future due to its Automatic schedule.
- When you are filling the Number in the Remaining field, then you notice that it comprises the Next Date transaction.
- If you need to provide other necessary information in the Transaction, so,write it and then hit OK.
- After that, click on the “Save & Close” or “Save & next” option to write a memorized transaction. Select the Clear button and after that, close the window, if you are providing the transaction information for future use.
Steps To Update QuickBooks Memorized Transaction
- Click on the list menu and select the memorized Transactions List option.
- Double-click the memorized transaction that you have to use.
- You can accomplish the changes or additions to your transaction if it is necessary.
- Lastly, click on the “Save & Close” or “Save & next” option to write the memorized transaction now. Select the Clear button and shut the window. If you are entering the transaction information for the future use.
Make A Memorized Transaction Group
- Click on the list menu and select memorized Transactions List.
- Choose New Group from the pop-up menu.
- Type a group name and select the action and date options for this group.
- Now, tap on “OK”.
- After this, all the memorized transactions in this group will execute the same way at the same time.
Add A Transaction to the memorized transaction group
- Open the transaction that you want to memorize.
- Choose the “Memorize” option.
- Select to Add to Group, write a group name and save it.
- Go for OK.
How Can I Edit or Delete Memorized Transactions in QuickBooks?
- After configuring the QuickBooks memorized transaction, if you wish to edit and Delete the information about the list or action in the future.
- Select the QuickBooks memorized list.
- Choose the edit button.
- If you have to modify the actual transaction data that is memorized, edit it and hit the memorize button again.
- Now, pop- up will display on your screen, prompting if you would like to exchange the existing memorized transaction or make a new one.
For technical help, contact QuickBooks Help team’s technicians. Experts will help you out in your problem and suggest you the best remedy for the problem that you come across. The best part is that you can call whenever you want.