
QuickBooks Error 404 accidentally arises at any screen while operating the QuickBooks software. The basic cause of QuickBooks Error 404 is when QuickBooks fails to sync with the Intuit Servers. In order to send, receive or download the data for internal service requirements from within QuickBooks to draw from the Intuit Servers. The disruption or failure of the Internal Service Requests effects in Intuit Error 404. On the other hand, QuickBooks Runtime Errors are denoted as “QuickBooks Error 404”.
Suggested below are some of the informative methods to overcome QuickBooks Update Error 404. If you find any sort of difficulty performing these steps, then you can contact QuickBooks customer support phone number. Experts will get in touch with you and try to solve your issue as soon as possible.
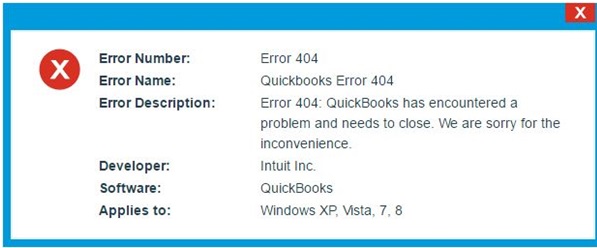
Given Pop-up image appears when the problem comes in QuickBooks Desktop
Foremost Reasons for QuickBooks Error Code 404
- The corrupt System windows registry.
- Gets corrupted or inadequate installation.
- QuickBooks files get deleted viciously or inaccurately by a program.
- Virus or malware infection has corrupted the QuickBooks files or windows system files.
Also Read: Fix QuickBooks Error 6209 in Quick and Easy Steps
Main Symptoms of QuickBooks Error 404
- The web page that you are trying to access “couldn’t be found on the server“.
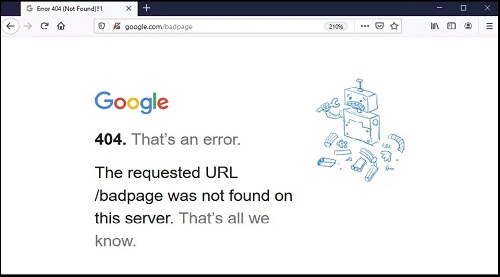
- The page has been ousted or shifted but the URL has not been changed.
- Error Code smashes the dynamic program window.
- Windows run sluggishly and answer late to the mouse or any other input.
- PC smashes with Error 404 while executing a comparable program.
- “QuickBooks Error 404” is displayed on your device screen.
Effectual Ways to Overcome Error 404
Here are some of the recommended steps to get rid of error 404.
Solution 1: Validate your Internet Speed
- Open Internet Explorer followed by a frequently opened website.
- If you find any problem opening the URL, revive the internet setting and then try again.
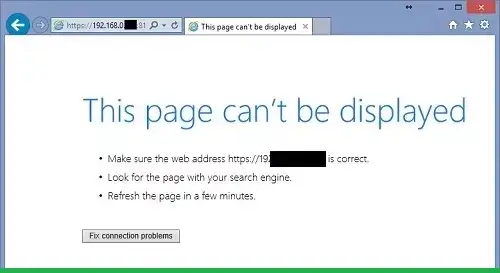
- Still view the message “Connect to the internet” or “Page can’t be displayed”.In that case, switch off and on your wireless router and re-open the URL.
- Just in case you encounter the same issue again, restart your computer system and try again.
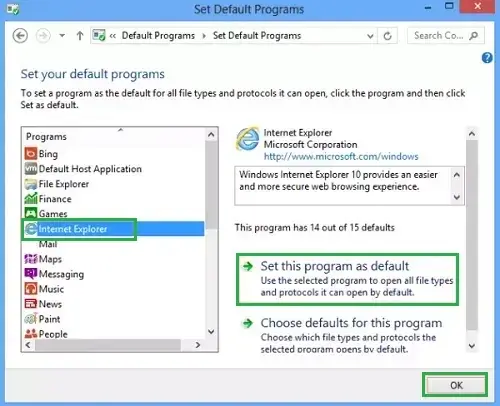
- Put the Internet Explorer as the default browser.
- Finally, contact your internet service provider if these steps are not helpful.
Read More: Event ID 4 QuickBooks .Net Framework Error Solution
Solution 2: Change the Internet Settings
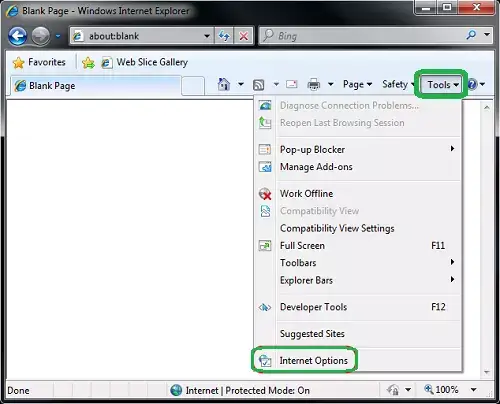
- Go to Internet Explorer, select Tools, and then click on Internet Options.
- Dab on the Security Tab, then go to the Trusted Sites and select it.
- Add *.quickbooks.com and *.intuit.com as the trusted sites.
- Choose Close and then click on Ok.
- Exit from the company file and now shut QuickBooks.
- Open QuickBooks again and then open the company file to accomplish the job where you encountered QuickBooks Error 404.
Solution 3: Update and Repair the QuickBooks
- Open your QuickBooks and search the Help menu.
- Click on the Update QuickBooks Desktop.
- Your company file and start doing the tasks that are interrupted by the QuickBooks 404 Error.
- If the problem still persists, move for the QuickBooks Repairing as stated below.
- Hit Windows +R together.
- Enter “Appwiz.CPL” in the area at the bottom left corner of the screen.
- Choose QuickBooks from the list of Installed Programs and Click on Repair.
- When the repair is fixed, check whether the issue has been solved or not.
Solution 4: Reconfigure your System Settings
- Open your QuickBooks company files.
- Begin the process where you are encountering QuickBooks Error 404.
- Exit from the company file and shut your QuickBooks.
- Update the Windows and restart your computer.
- Go to Internet Explorer, click on the Tools menu and then go to the Internet Options.
- Choose the Advanced Tab and scan in the settings pane.
- Shut all the programs and protect the information.
- Hit Windows + R together and type ms config and then click on Ok.
- Choose General on the system configuration screen.
- Go to the Startup Selection, click on the Selective Startup, and then hit Ok.
- Resume your computer.
If you need any sort of help related to QuickBooks, contact QuickBooks customer support. Experts will clear all your doubts and make you stress-free.